No products in the cart.

Engagement Photo Session Tips: A Comprehensive Guide
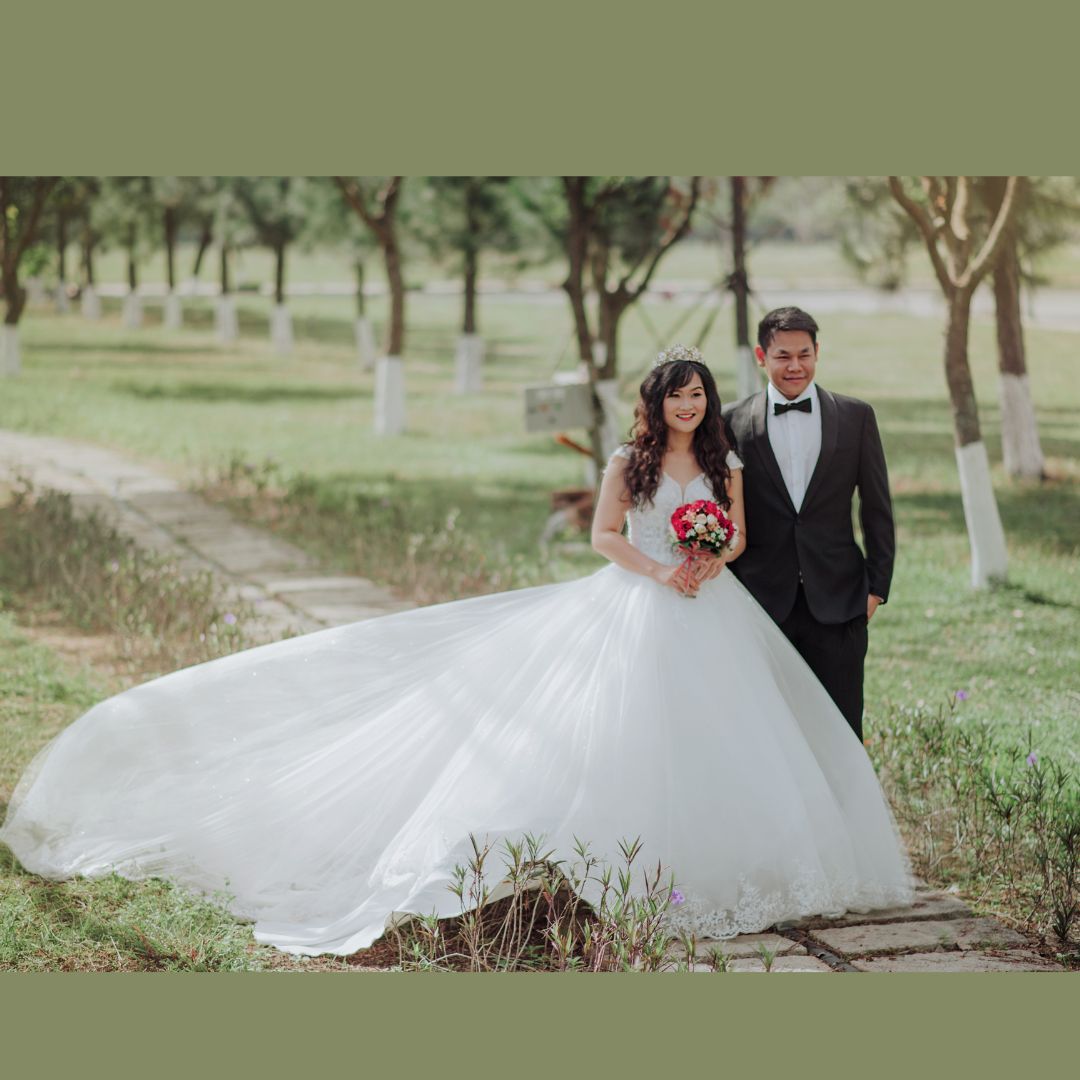
Introduction: Everyone dreams of receiving a romantic proposal from their significant other. It resembles a childhood fantasy coming to pass. It really is a
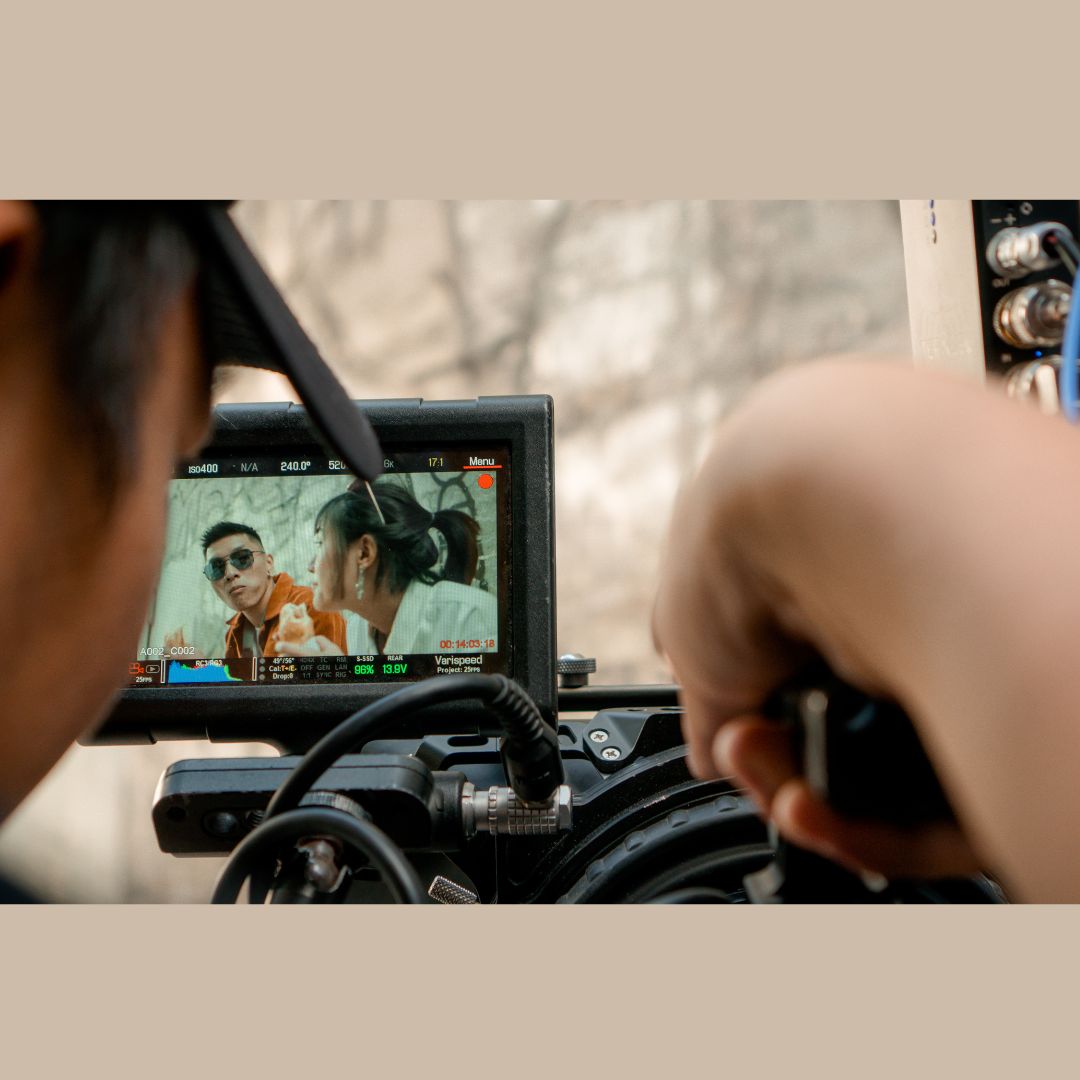
When it comes to photography, lighting plays a crucial role in capturing stunning and impactful images. The right lighting can enhance the subject, bring out details, and create a desired mood. Conversely, poor lighting can result in lackluster and unappealing photos. Understanding the impact of lighting and knowing the best times to take pictures can greatly improve the quality of your photographs.
The use of natural lighting versus artificial lighting is an important consideration. Natural lighting, especially during specific times of the day, can provide a beautiful and soft illumination that adds depth and dimension to your images. Two key periods for natural lighting are the Golden Hour, which occurs during sunrise and sunset, and the Blue Hour, which is just before sunrise and after sunset.
The best times for taking pictures include sunrise, sunset, mid-morning, and late afternoon. During these times, the lighting is generally more favorable, creating a warm and magical atmosphere that is ideal for capturing breathtaking shots.
On the other hand, certain times of the day present challenges when it comes to photography. Midday and noon are typically known as the worst times for taking pictures due to the harsh and intense overhead lighting. This lighting can create unflattering shadows, result in overexposure, and produce flat and uninteresting images.
However, even in challenging lighting conditions, there are alternative strategies that can be employed. Using reflectors or diffusers can help soften and manipulate the light, while embracing black and white photography can add a unique and artistic element to your images.
By understanding the impact of lighting and knowing the best and worst times for taking pictures, you can adapt your photography techniques accordingly and capture stunning moments that truly stand out.
When it comes to capturing the perfect shot, lighting plays a crucial role. In this section, we’ll dive into the impact of lighting on photography. We’ll explore the differences between natural lighting and artificial lighting, uncover the magic of the golden hour, and discover the enchantment of the blue hour. Get ready to learn how lighting can elevate your photography skills and create stunning visual masterpieces.
Natural Lighting vs Artificial Lighting
Understanding the differences between natural lighting and artificial lighting is essential in the field of photography. These two types of lighting play a significant role in capturing that perfect shot. Natural lighting, which comes from sources like sunlight, contributes to the creation of a soft and warm effect in your photos. It adds depth and dimension, enhancing the overall quality. On the contrary, artificial lighting, such as studio lights, provides you with greater control over the lighting conditions. It offers various options to manipulate and experiment with lighting to create different moods and effects. Remember, to capture unique and captivating photographs, it is advisable to explore both natural and artificial lighting techniques.
The magical time for photographers, known as the “Golden Hour,” happens during the first and last hour of sunlight in the day. This special period occurs when the sun is positioned low in the sky, casting a warm, soft, and flattering light that enhances the colors and textures of your subject. The Golden Hour creates a beautiful and atmospheric mood in your photographs, making it a popular choice for landscape, portrait, and nature photography. By taking advantage of this time of day, you can elevate the quality of your images and capture stunning moments with a warm, golden glow.
The Blue Hour is a beautiful and unique time of day for photography. Occurring shortly before sunrise and after sunset, the sky takes on a stunning blue hue. During this time, there is a perfect balance between natural and artificial lighting, creating a dreamy atmosphere. To capture the essence of the Blue Hour, use a tripod and adjust your white balance settings to emphasize the blue tones. Pro-tip: Experiment with long exposure shots during the Blue Hour to create mesmerizing images of cityscapes or landscapes. Don’t miss the opportunity to capture the magic of this fleeting moment in time.
Capture the perfect moment with your camera by knowing the best times for taking pictures. From the breathtaking beauty of a sunrise to the warm hues of a sunset, we’ll explore the different times of day that offer the most ideal lighting and atmosphere for your photographs. Discover the magical moments of mid-morning and the enchanting glow of late afternoon. With this knowledge, you’ll be able to elevate your photography and create stunning images that truly stand out.
Watching a sunrise can be a magical experience, but it can also provide the perfect lighting for capturing stunning photographs. The soft, warm light during sunrise creates a beautiful ambiance and adds a touch of warmth and glow to your pictures. The colors are often more vibrant and the shadows are long, which can create interesting compositions. The calm and tranquil atmosphere during sunrise can add a sense of serenity to your images. To capture the best shots during sunrise, plan ahead and arrive early to make the most of the available light.
True story: I once woke up at the crack of dawn to capture the perfect sunrise shot at a beach. As the first rays of sunlight peeked over the horizon, casting a golden glow on the water, I couldn’t help but feel a sense of awe and wonder. The colors were breathtaking, and the calmness of the moment made it even more special. It was a reminder of the beauty of nature and how capturing those fleeting moments can truly create lasting memories.
Sunset is one of the best times for taking pictures due to its beautiful and warm lighting. The soft, golden hues create a magical atmosphere, enhancing the overall composition of the photo. During this time of day, you can capture stunning silhouettes, landscapes, and portraits with a dreamy and romantic feel. The sky often offers a vibrant display of colors, adding depth and drama to your images. Whether you’re a professional photographer or an amateur, sunset presents a fantastic opportunity to capture breathtaking shots that will leave a lasting impression. So grab your camera and head out to witness the mesmerizing beauty of sunset.
In photography, mid-morning is a popular time to capture beautiful images due to its favorable lighting conditions.
| Advantages of Mid-Morning Photography: | Challenges of Mid-Morning Photography: |
| Soft, warm light enhances colors | Potential for harsh shadows |
| Longer shadows add depth to the composition | Possible overexposure in bright sunlight |
| Less crowded than sunrise or sunset | Flat lighting in cloudy conditions |
True story: During a mid-morning photoshoot in a peaceful garden, the soft sunlight illuminated the vibrant flowers, creating a stunning backdrop. The longer shadows added dimension to the images, giving them a sense of depth. Despite the occasional challenge of managing shadows and overexposure, the mid-morning light truly brought the photos to life, capturing the beauty of the moment.
Late Afternoon is a truly magical time for capturing photographs with its gorgeous golden warm light. This particular time of day brings about soft, flattering shadows and a warm color tone that adds depth and dimension to your images. The low angle of the sun during late afternoon creates longer and more intriguing shadows, which can be artistically utilized in your compositions. Furthermore, the warm, golden light beautifully enhances the natural beauty of both landscapes and portraits, imparting a stunning glow to your subjects. To maximize the potential of the late afternoon light, I recommend exploring open spaces or waterfront locations to capture breathtaking reflections. Don’t hesitate to experiment with different angles and compositions to create visually captivating and mesmerizing photographs.
Capturing the perfect shot can be a battle when it comes to timing. In this section, we’ll uncover the challenges photographers face at different times of the day. From dealing with harsh shadows that distort the subject, to contending with overexposure that washes out colors, and the struggle to add depth due to flat lighting – each sub-section will shed light on the hurdles photographers must overcome to capture stunning images. Get ready to discover the obstacles that await at various moments, and how to navigate them like a pro.
Photography can present a challenge when it comes to dealing with harsh shadows, but there are several techniques to overcome this issue:
It’s worth noting that harsh shadows can serve a purpose in photography, creating a dramatic and artistic effect when used intentionally. They add depth and dimension to the composition.
Overexposure is a common challenge when taking pictures at certain times of the day. It occurs when there is too much light entering the camera, causing the image to appear too bright or washed out. To avoid overexposure, here are some strategies to consider:
By employing these techniques, you can prevent overexposure and capture well-exposed images even in challenging lighting conditions.
Flat lighting occurs when there is minimal contrast between light and shadow, resulting in dull and lackluster images. To overcome this challenge and enhance the visual appeal, photographers can employ various techniques:
True story: I once encountered flat lighting while photographing a landscape under an overcast sky. However, I effectively addressed this issue by capturing the rich textures and intricate patterns present in the scene. Additionally, I converted the image to black and white and made adjustments in post-processing. As a result, I successfully transformed the flat lighting into a captivating image.
Looking to capture that perfect shot? Well, you might want to avoid the worst times for taking pictures – midday and noon. These periods can cast harsh shadows and result in washed-out or overexposed images. But fear not! In this section, we’ll uncover why these times may sabotage your photography aspirations. So, stay tuned to learn valuable tips on when to dodge the bright sunlight and maximize your photographic potential.
Taking pictures during midday can be challenging due to harsh lighting conditions. With the right techniques, you can still capture stunning photos even during this time of day.
Taking pictures at noon can be challenging due to harsh lighting conditions. The strong overhead sunlight at noon creates harsh shadows, causes overexposure, and leads to flat lighting. To overcome these challenges, photographers can use reflectors or diffusers to soften the light and create more flattering portraits. Another option for dealing with the problems posed by noon lighting is to embrace black and white photography, which can minimize the negative impact of harsh lighting. Scouting locations with shaded areas or utilizing props like umbrellas can also be helpful in creating more appealing images during noon shoots. Experimentation and creativity are key when shooting at noon to achieve the desired results.
When it comes to capturing great photographs, tackling challenging lighting conditions can be a real struggle. But fear not, in this section, we’ll explore some alternative strategies that can help you overcome those pesky lighting challenges. From utilizing reflectors or diffusers to embracing the beauty of black and white photography, we’ll dive into techniques that will bring out the best in your images. No more fumbling with excessive shadows or harsh highlights – get ready to elevate your photography game!
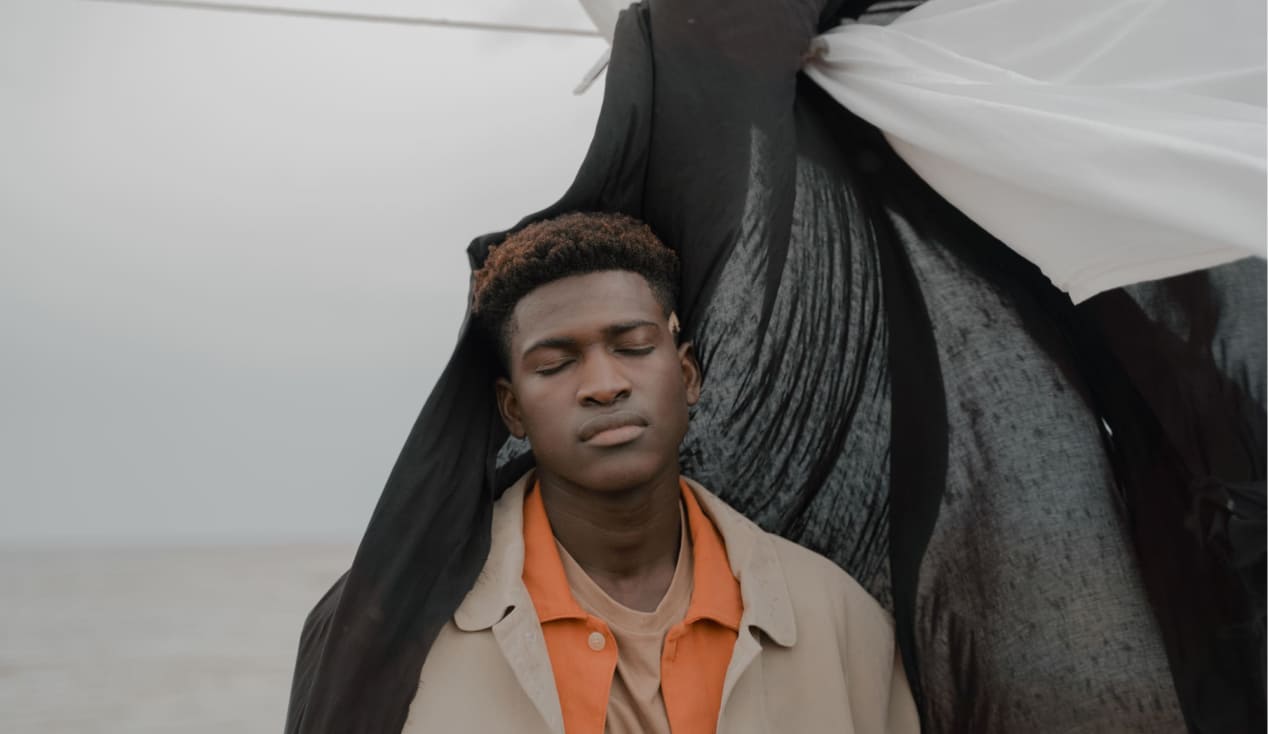
Embracing black and white photography can be a creative and artistic choice for capturing images, especially during challenging lighting conditions. Here are some reasons why you should consider embracing black and white photography:
The worst time of day to take outdoor photos is when the lighting is not right for the shot. This can include when the sun is directly overhead, causing harsh shadows and intense shadows on the subject’s face.
The high sun, which is typically during midday, can create shadowed portions of the scene and cause significant dynamic range (DR) problems. This can result in areas of the photo being overexposed or underexposed.
The golden hour, which was more significant in the days of black and white film photography, is now less important in digital color photography. While the golden hour is known for its beautiful color casts, there are many other lighting colorations that can be used to create a fine image.
The best time of day to take outside people pictures in the summer is when the sun is low in the sky, either early in the morning or late in the evening. This is typically during the “Golden Hour,” which is around sunrise or sunset.
To avoid unflattering shadows in outdoor portraits, it is recommended to schedule the photo session during the “Golden Hour” or to use light modifiers. Additionally, positioning the subject with the sun behind them can help minimize shadows on their face.
If you are unable to get outdoors for a photo session, you can try finding a well-lit area indoors or using light modifiers to create good lighting conditions. Additionally, choosing the right location and backdrop can also make a difference in the quality of your pictures.
Lorem ipsum dolor sit amet, consectetur adipiscing elit. Suspendisse varius
enim in eros elementum tristique.