Lighting plays a crucial role in photography, influencing the overall look, mood, and atmosphere of a photograph. Professional photographers understand the importance of utilizing various lighting techniques to create stunning and captivating images. In this article, we will explore the different lighting techniques that professional photographers swear by. We will delve into the significance of lighting in photography, how it affects the look of a photograph, and its role in setting the mood and atmosphere. we will discuss the essential lighting equipment that professional photographers rely on, such as natural light, continuous lighting, and strobe lighting. We will then explore common lighting techniques used by professionals, including three-point lighting, Rembrandt lighting, butterfly lighting, and side lighting. Furthermore, we will discover how to create dramatic effects with creative lighting techniques like high-key lighting, low-key lighting, and silhouette lighting. Lastly, we will explore artificial lighting techniques for indoor photography, such as softbox lighting, umbrella lighting, and ring light. Throughout the article, we will provide tips and tricks for mastering lighting techniques, including understanding and manipulating light direction, controlling the intensity and color of light, and experimenting with different lighting setups. By learning and applying these lighting techniques, you can elevate your photography skills and capture visually stunning images.
Understanding the Importance of Lighting in Photography
Understanding the importance of lighting in photography is essential for capturing stunning images. Lighting plays a critical role in enhancing the mood, composition, and overall quality of a photograph. Professional photographers rely on various lighting techniques, including natural light, artificial light, and the use of reflectors or diffusers, each with its own benefits based on the desired effect and subject. By comprehending how light interacts with the subject, photographers can manipulate and control the atmosphere of their photos, resulting in visually compelling images.
“The Afghan Girl” by Steve McCurry exemplifies the significant impact of lighting in photography. This renowned photograph features a young Afghan refugee with captivating green eyes. The striking illumination from the natural window light adds depth to the image, accentuating the subject’s features and emotions. This iconic photograph symbolizes resilience and the human spirit, serving as a testament to the crucial role of lighting in capturing impactful photographs.
How Does Lighting Affect the Look of a Photograph?
The use of lighting in photography has a significant impact on the overall look and feel of a photograph. Understanding how lighting affects a photograph allows photographers to manipulate it to convey their desired message and create stunning visual compositions. Proper lighting can enhance the subject, create depth, and evoke different emotions. The direction, intensity, and color of light all play a role in shaping the final image. For example, soft, diffused lighting can produce a romantic and dreamy effect, while strong, directional lighting can create dramatic shadows and highlights.
In a similar vein, the history of lighting in photography is a fascinating one. From the early days of natural light and flash powder to the development of modern artificial lighting techniques, photographers have continuously experimented and pushed the boundaries of lighting to capture captivating images. With technological advancements, lighting tools and equipment have evolved, enabling photographers to achieve new creative possibilities. Today, lighting remains an integral aspect of photography, allowing photographers to shape their vision and create timeless compositions.
How Does Lighting Affect the Look of a Photograph?
The Role of Lighting in Setting the Mood and Atmosphere
Lighting plays a crucial role in setting the mood and atmosphere in photography. By manipulating light, photographers can create different emotions and convey specific messages through their images. Soft, diffused lighting can create a serene and calm atmosphere. On the other hand, bright, high-key lighting can evoke a sense of joy and energy. Additionally, low-key lighting with deep shadows can add drama and mystery to a photograph. Moreover, silhouette lighting can create a sense of mystery or highlight the shape of the subject. Colorful or gelled lighting can enhance the mood and add a creative touch to the image. Therefore, it is important for photographers to play with lighting angles and intensities to evoke different emotions and effectively tell a story through their photographs.
Essential Lighting Equipment for Professional Photographers
As professional photographers, we know that lighting can make or break a shot. In this section, we’ll dive into the essential lighting equipment that every photographer needs to capture stunning images. From harnessing the beauty of natural light to mastering the art of continuous and strobe lighting, we’ll reveal the secrets behind achieving perfect lighting in every situation. Get ready to elevate your photography game with these indispensable lighting techniques!
1. Natural Light
Natural light is a fundamental element in photography, providing a unique and authentic look to images. Photographers often rely on natural light to create a soft and flattering effect on subjects. The quality and characteristics of natural light vary throughout the day, offering diverse opportunities for capturing different moods and atmospheres. The golden hour and blue hour are popular times for photographers due to the warm and soft glow that enhances the overall composition. Understanding how to manipulate and utilize natural light is an essential skill for photographers to master, as it can greatly impact the quality and aesthetic appeal of their photographs.
The use of natural light in photography dates back to its very origins in the early 19th century. Pioneers of the medium, such as William Henry Fox Talbot and Louis-Jacques-Mandé Daguerre, experimented with capturing images using sunlight, establishing the importance of natural light as a fundamental element of the art form. Since then, photographers have continued to explore and harness the power of natural light, recognizing its ability to evoke certain emotions and enhance the visual impact of their photographs. Today, natural light remains a key aspect of photography, enabling artists to create stunning and authentic images.
2. Continuous Lighting
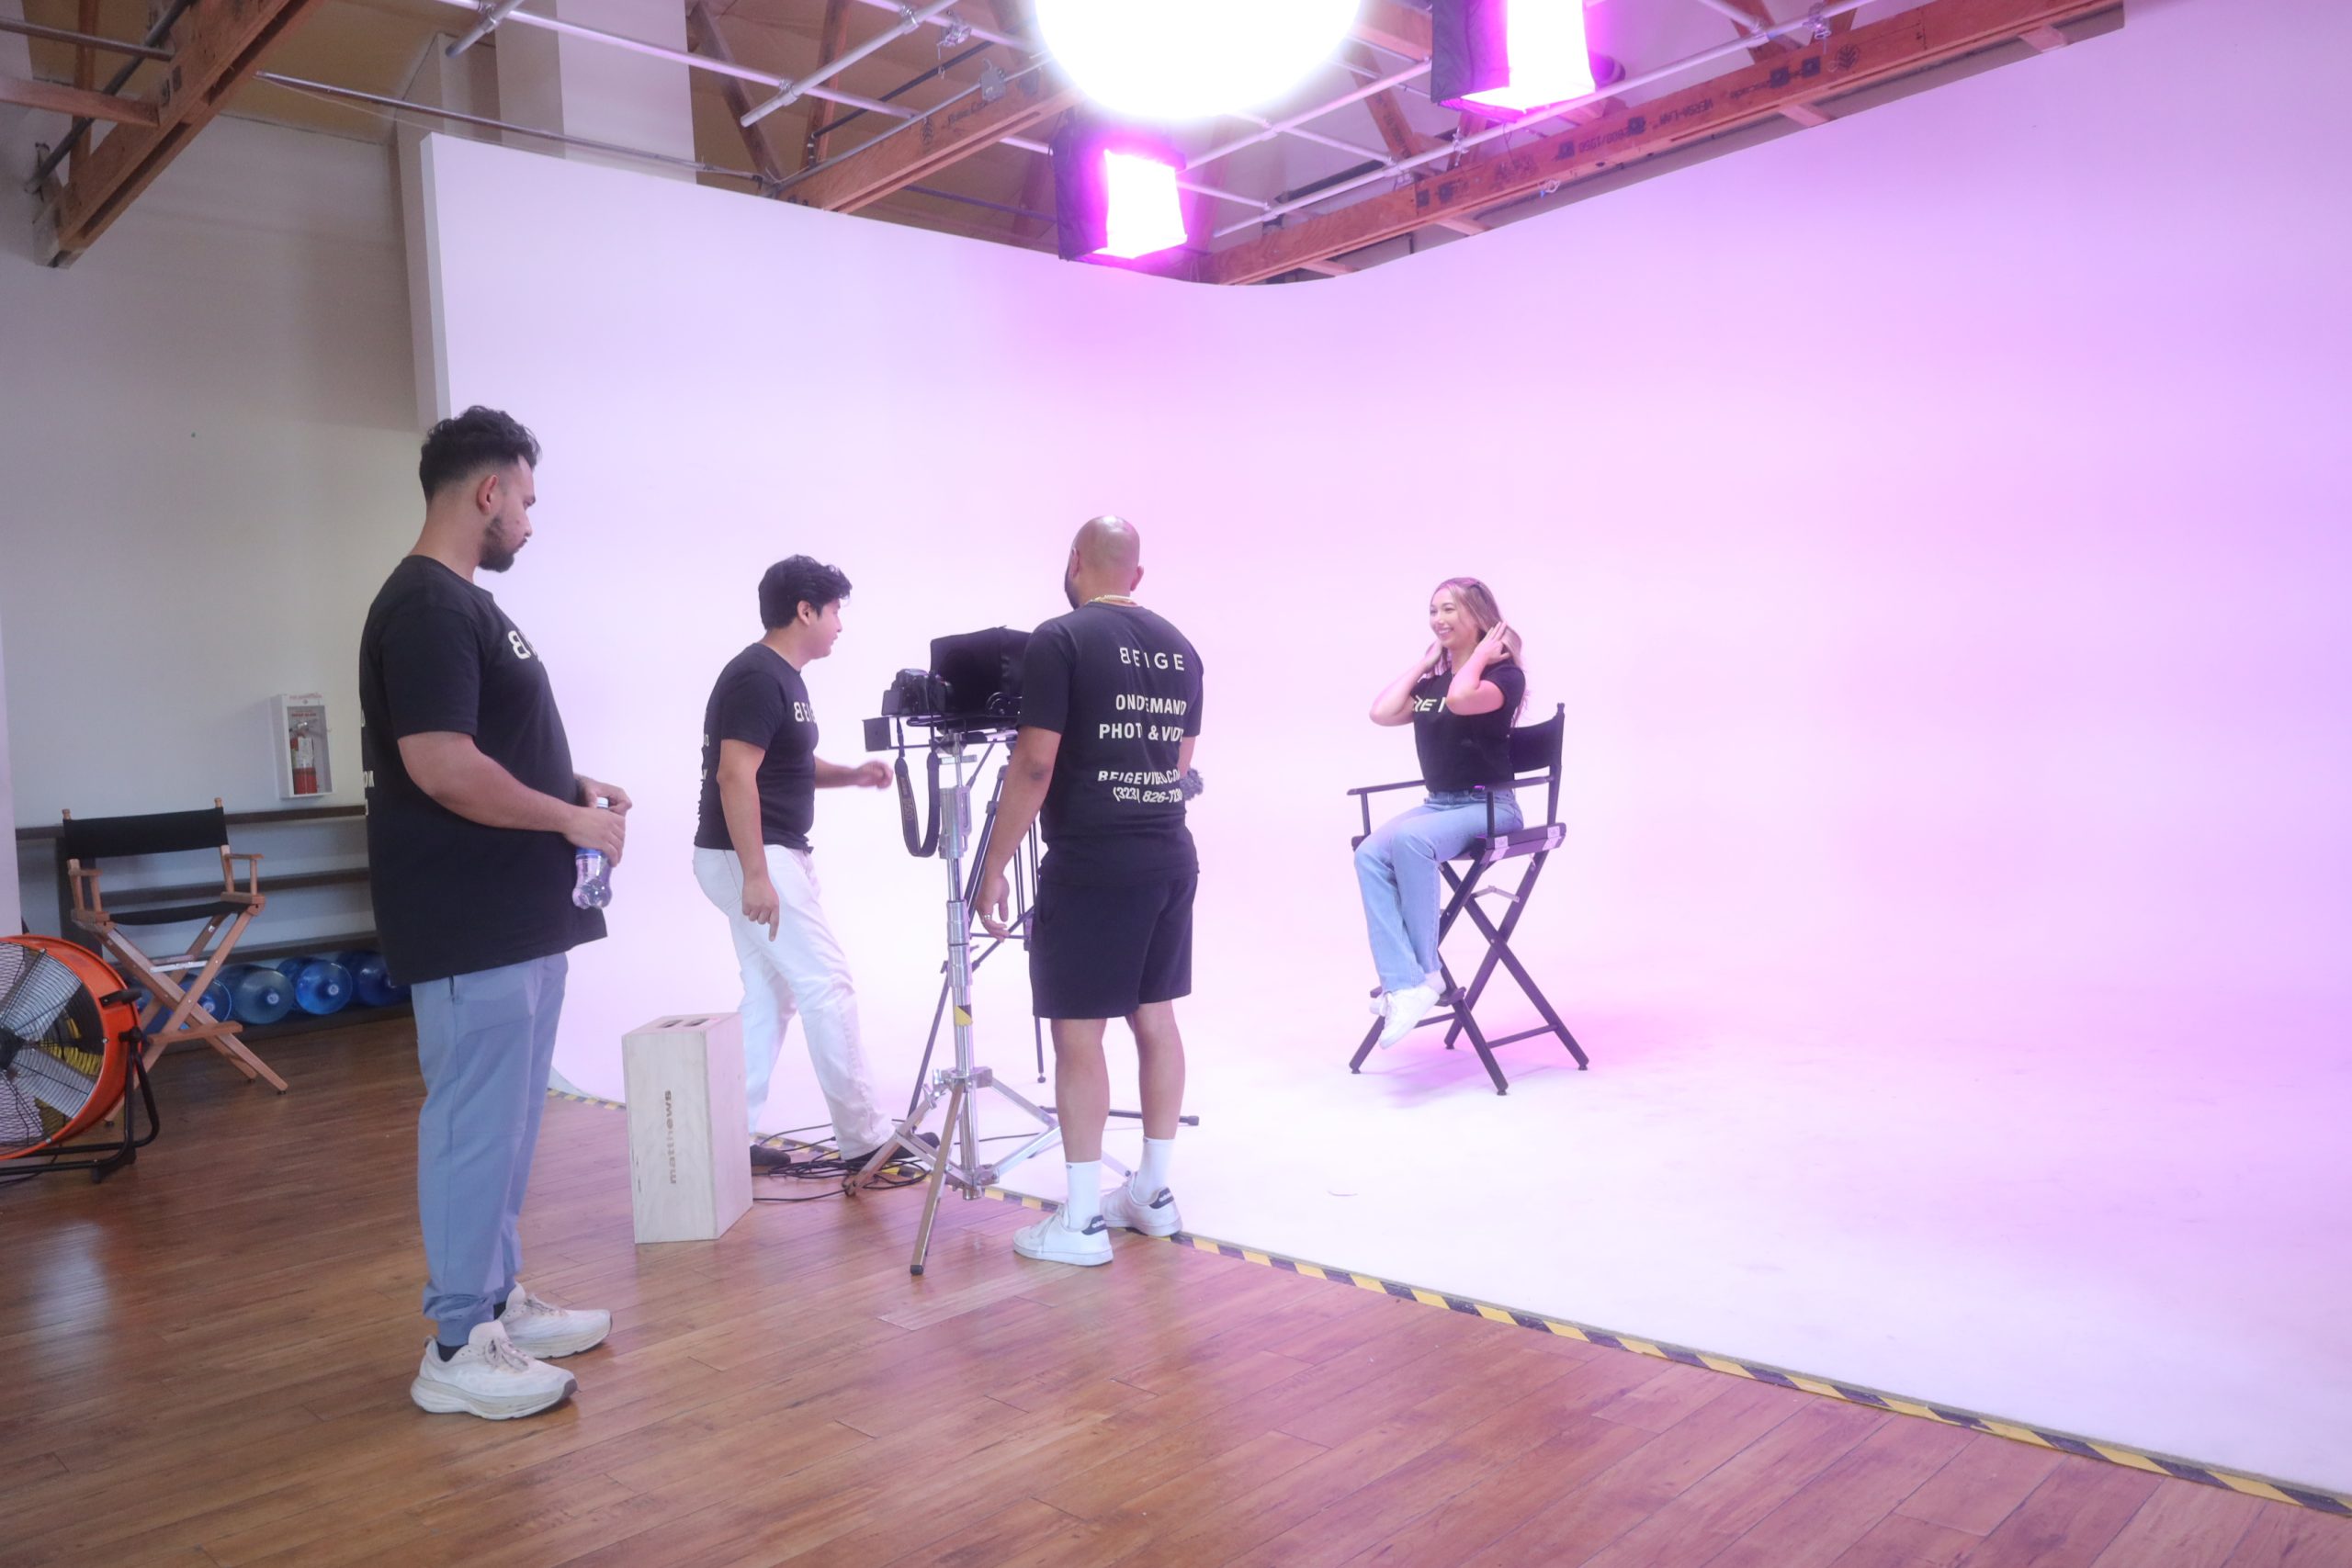
Continuous Lighting is a vital aspect in photography as it involves the use of a consistent light source to effectively illuminate the subject. This technique proves to be particularly advantageous in situations where capturing motion or shooting videos requires a continuous source of light. Continuous Lighting ensures a steady and uniform illumination, enabling photographers to easily visualize and make necessary adjustments to the lighting setup. It is extensively utilized in portrait photography, product photography, and studio setups. By employing Continuous Lighting, photographers have greater command over the intensity and direction of the light, resulting in well-lit and professionally captured photographs.
3. Strobe Lighting
Strobe lighting is a popular lighting technique in photography that utilizes a bright, brief flash of light to effectively capture a subject. Here are some key points to consider when it comes to strobe lighting:
- Powerful bursts: Strobe lights produce short bursts of intense light, which serve to freeze motion and enable the capture of sharp, crisp images.
- Controlled lighting: Strobe lights offer the ability to adjust and control the intensity, direction, and color temperature of the light. This grants photographers greater creative control over their shots.
- Versatility: Strobe lighting can be applied in various genres of photography, encompassing studio portraits, product photography, and even outdoor shoots.
- Light modifiers: By employing light modifiers such as umbrellas, softboxes, and grids, photographers can shape and soften the strobe light, thus achieving diverse effects.
By gaining a thorough understanding of and mastering the techniques associated with strobe lighting, photographers can elevate the quality of their images, resulting in stunning visual impact.
Common Lighting Techniques Used by Professional Photographers
Discover the secrets behind captivating photographs as we delve into the world of common lighting techniques used by professional photographers. From the timeless elegance of three-point lighting to the dramatic allure of Rembrandt lighting, and from the delicate beauty of butterfly lighting to the dynamic effects of side lighting, we’ll explore how these techniques can transform ordinary scenes into extraordinary moments frozen in time. Get ready to unlock the potential of light and elevate your photography skills to new heights.
1. Three-Point Lighting
Three-point lighting is an essential technique used in photography to achieve a well-lit and balanced image. It involves strategically positioning three key light sources around the subject. To implement three-point lighting, follow these steps:
- Key Light: This is the main light source that provides primary illumination on the subject. Position it at a 45-degree angle to the subject, typically above or to the side of the camera.
- Fill Light: This light source fills in the shadows created by the key light. Place it on the opposite side of the key light, also at a 45-degree angle.
- Backlight: Also known as the rim or hair light, the backlight is placed behind the subject to separate them from the background. It adds highlights and depth to the image.
By utilizing three-point lighting, photographers can effectively control the lighting in their images, enhancing the subject’s features while maintaining a visually appealing look.
2. Rembrandt Lighting
Rembrandt lighting, also known as Rembrandt lighting technique, is a highly popular lighting method utilized in the field of photography to produce a striking and captivating effect. The core idea behind this technique lies in positioning the primary light source on one side of the subject, which results in the formation of a subtle triangular shadow beneath the eye on the opposite side of the person’s face. The name of this lighting style originated from the renowned Dutch painter, Rembrandt, who frequently employed this distinctive lighting approach in his portrait works. By employing Rembrandt lighting, photographers are able to add a sense of depth and dimension to the subject, while emphasizing the facial features and creating an overall atmosphere of sophistication. This particular lighting technique finds widespread application in portrait photography as it enables the creation of a timeless and classic appearance.
3. Butterfly Lighting
The technique known as butterfly lighting is highly popular among professional photographers for achieving a flattering and dramatic look. If you want to achieve butterfly lighting, just follow these simple steps:
Let me tell you a true story: Jane, a professional photographer, used butterfly lighting to capture remarkable portraits of her clients. The soft overhead lighting resulted in a beautiful glow on their faces, which highlighted their features and created a captivating mood. Jane’s clients were extremely pleased with the results, and her reputation as a skilled photographer quickly spread. Thanks to her mastery of butterfly lighting, she continued to create breathtaking portraits for many years to come.
4. Side Lighting
Side lighting is a widely used technique among professional photographers to enhance the depth and texture of their images. This method requires positioning the light source at the side of the subject to cast shadows that accentuate contours and create a dramatic effect. Portrait photographers commonly employ this technique to define facial features and give the subject a three-dimensional appearance. In addition, side lighting can be beneficial in still life and product photography as it emphasizes texture and shape. To achieve the desired outcome, it is important to experiment with the angle and intensity of the light. Here’s an interesting fact: Side lighting has the ability to produce captivating shadows and highlights, adding an element of mystery and fascination to your photographs.
Creating Dramatic Effects with Creative Lighting Techniques
Unlock the true magic of photography with creative lighting techniques that bring a touch of drama to your images. In this thrilling section, we will explore the art of creating breathtaking effects through three remarkable lighting methods. Brace yourself as we delve into the captivating world of high-key lighting, low-key lighting, and the mysterious allure of silhouette lighting. Get ready to elevate your photography skills and leave your viewers spellbound with these jaw-dropping techniques. Get your cameras ready; it’s time to illuminate your creativity!
1. High-Key Lighting
High-key lighting is a technique frequently employed in photography to achieve a bright and evenly illuminated image. This style of lighting is characterized by minimal shadows and a predominantly white or light background. It is commonly used in portraits, fashion photography, and product photography to create an aesthetic that is clean and airy. To achieve the desired effect of high-key lighting, photographers typically utilize multiple light sources such as softboxes or diffusers to evenly illuminate the subject. The outcome is a well-lit photograph with a soft and pleasing appearance. High-key lighting is especially effective in conveying a sense of happiness, positivity, and purity in the image.
2. Low-Key Lighting
| 2. Low-Key Lighting | |
| Description: | Low-key lighting is a technique used in photography to create a dramatic and moody atmosphere. It involves using a minimal amount of light and emphasizing shadows. This technique is often employed in film noir or horror photography to convey a dark and mysterious feel. To achieve low-key lighting, photographers use techniques such as underexposing the image, using a single light source, and positioning the light at a low angle. The result is a photograph with strong contrasts and deep shadows. |
| Usage: | Low-key lighting is commonly used in portrait photography to add depth and create an intimate and dramatic look. It can also be used in still life or product photography to highlight certain elements and create a sense of intrigue. Photographers often use low-key lighting when they want to evoke emotion or tell a captivating story through their images. It requires careful control of light and shadow to achieve the desired effect. |
Suggestions: To master the low-key lighting technique, experiment with different light positions and intensities. Play with the positioning of your subject to create interesting compositions. Remember to use shadows strategically to convey a specific mood or atmosphere. Pay attention to the post-processing stage, as adjusting the contrast and tones can enhance the impact of the low-key lighting effect. With practice and creativity, you can use low-key lighting to elevate your photography and create stunning and emotive images.
3. Silhouette Lighting
Silhouette lighting is a highly sought-after method in the field of photography, which entails capturing the subject as a dark silhouette against a brightly illuminated background. This technique effortlessly produces a mesmerizing and intense impact that can elicit emotions of secrecy and fascination. In order to achieve the desired effect of silhouette lighting, photographers frequently position the subject right in front of a powerful light source, such as the sun or a brilliantly shining artificial light. The subject is subsequently illuminated from the back, causing their form to manifest as a compelling, solid black silhouette. This particular approach is commonly employed in portrait photography or to effectively capture the outlines of various objects.
Using Artificial Lighting Techniques for Indoor Photography
Discover the powerful world of using artificial lighting techniques for indoor photography. From the soft glow of softbox lighting to the versatile illumination of umbrella lighting and the captivating effect of ring light, these techniques will take your photography to the next level. Uncover the secrets to creating breathtaking indoor shots, capturing every detail and mood with precision. Get ready to unleash your creativity and master the art of artificial lighting in photography.
1. Softbox Lighting
Softbox lighting is a popular technique used by professional photographers to create soft, diffused lighting in their photographs. This technique involves using a large, rectangular light source covered with translucent fabric to produce even and controlled lighting.
- Softbox Lighting: Softbox lighting helps minimize harsh shadows and creates a smooth and flattering light on the subject.
- Versatility: Softboxes come in various sizes and shapes, allowing photographers to adjust the size and direction of the light for different effects.
- Portrait Photography: Softbox lighting is commonly used in portrait photography to achieve a natural and professional look. It provides soft and flattering light that enhances the subject’s features.
- Product Photography: Softboxes are also effective in product photography, as they produce a soft and even light that highlights the product’s details and textures.
2. Umbrella Lighting
Umbrella lighting, also known as umbrella lighting technique, is a popular method employed by professional photographers to achieve soft and diffused lighting in their indoor shots.
- One of the key elements of umbrella lighting is the light source, which is typically a white or silver umbrella used to reflect and diffuse the light.
- In this technique, the umbrella is positioned between the light source and the subject, angled strategically to bounce the light onto the subject.
- One of the main advantages of umbrella lighting is its softening effect on the light. By spreading and diffusing the light, it reduces harsh shadows and creates a more flattering and even illumination for the subject.
- Another benefit of umbrella lighting is its flexibility. It can be used with various types of light sources, including strobe lights or continuous lights, providing photographers with versatility to achieve different lighting effects.
3. Ring Light
A ring light, also known as a ring light, is a popular lighting tool used by professional photographers to achieve a unique and flattering lighting effect. It consists of a circular shape with a central opening where the camera lens is placed. Here are some key features and benefits of using a ring light:
| 1. Uniform Lighting: | A ring light provides even and shadow-free lighting, resulting in a soft and flattering illumination on the subject’s face. |
|---|---|
| 2. Catchlight: | The circular shape of the ring light creates a distinct catchlight in the subject’s eyes, giving them a captivating and glamorous look. |
| 3. Versatility: | Ring lights are versatile and can be used for various photography genres such as portraits, beauty shots, fashion photography, and macro photography. |
| 4. Compact and Portable: | Ring lights are lightweight and portable, making them easy to carry and set up for on-location shoots. |
| 5. Adjustable Intensity: | Many ring lights come with adjustable brightness settings, allowing photographers to control the intensity of the light based on their specific requirements. |
| 6. Easy to Use: | Ring lights are user-friendly and can be easily attached to the camera or used as standalone lighting. Some models also offer color temperature adjustment for different lighting effects. |
Using a ring light can enhance the quality of your photography by providing a professional and well-lit look to your images. Experiment with different lighting setups and positions to achieve the desired effects and make your subject shine.
Tips and Tricks for Mastering Lighting Techniques
Discover the secrets to mastering lighting techniques like a professional photographer! In this section, we’ll uncover valuable tips and tricks that will take your photography skills to the next level. Explore the art of understanding and manipulating light direction, learn how to control the intensity and color of light, and get ready to experiment with creative lighting setups. Get ready to capture breathtaking images with these essential techniques.
1. Understand and Manipulate Light Direction
Photographers can achieve desired photography results by understanding and manipulating light direction. Here are some techniques to consider:
1. Use backlighting: Position your subject in such a way that the light is behind them. This technique can create a halo effect and add depth to the image.
2. Front lighting: Illuminate your subject by placing the light source in front of them. Portrait photographers often use this technique to evenly light up the face.
3. Side lighting: To create dramatic shadows and highlights, position the light to the side of your subject. This adds texture and depth to your photos.
4. Experiment with angles: Move around your subject and try different angles to observe how light interacts with your composition. This can lead to unique and captivating lighting effects.
By understanding and manipulating light direction, photographers have the ability to capture stunning images that convey the desired mood and atmosphere.
2. Control the Intensity and Color of Light
To achieve the desired mood, atmosphere, and creative effects in photography, it is crucial to control the intensity and color of light.
- Intensity: You can adjust the light’s brightness by altering the distance between the subject and the light source or by utilizing modifiers like diffusers or reflectors.
- Color: Manipulating the light’s color can be done by using gels or filters. Warm gels can add a yellow or orange tone, while cool gels create a blue or green cast.
- Combining: To create unique and compelling compositions, it is worth experimenting with different intensities and colors of light.
In the early days of photography, photographers had limited control over the intensity and color of light. They heavily relied on natural light or candlelight, which often led to unpredictable outcomes. However, with the invention of artificial lighting techniques, photography underwent a revolution. These techniques empowered photographers by providing precise control over the intensity and color of light, thus elevating the art form and enabling endless creative possibilities.
Experiment with Lighting Setups
Experimenting with lighting setups is a crucial component of photography. By trying different lighting techniques, photographers can achieve remarkable and captivating effects in their images. Presented below is a table that showcases some popular lighting setups used by professionals:
| Lighting Technique | Description |
| Three-Point Lighting | An essential technique that involves experimenting with three light sources to create depth and dimension in the subject. |
| Rembrandt Lighting | A dramatic lighting technique that allows photographers to experiment with creating a small triangle of light on one side of the subject’s face. |
| Butterfly Lighting | This technique necessitates experimenting with placing the main light source directly in front of the subject, slightly above eye level, to ensure even illumination of the face. |
| Side Lighting | By experimenting with placing the light source to the side of the subject, photographers can create depth and accentuate texture. |
| High-Key Lighting | A lighting setup characterized by experimenting with bright and even illumination, resulting in minimal or no shadows and a soft and ethereal appearance. |
| Low-Key Lighting | A darker lighting configuration with high contrasts and deep shadows, which is ideal for experimenting with creating a moody atmosphere. |
By experimenting with these lighting setups, photographers can elevate their photography and achieve stunning visual effects.
Frequently Asked Questions
What are the essential lighting techniques every professional photographer swears by?
Professional photographers rely on various lighting techniques to capture stunning images. Some of the essential lighting techniques include natural lighting, studio lighting, Rembrandt lighting, butterfly lighting, split lighting, and rim lighting.
What is the best lighting gear for wedding photographers?
Wedding photographers often choose portable and flexible lighting gear, such as speedlights or flashes. These are popular due to their portability and versatility. However, studio lights with separate battery packs can offer more power and faster recycle times, making them suitable for both studio and on-site use.
How can photographers overcome difficult lighting scenarios during receptions?
Photographers participating in the Wedding Lighting Master Class series can learn reception lighting tips from experienced wedding photographer Leeann Marie. By being fast in lighting setups, photographers can create a hassle-free and beautifully lit experience for couples, even in unfavorable lighting scenarios. Leeann encourages photographers to modify lighting techniques according to their style and client needs.
What are some specific lighting techniques for portrait photography?
In portrait photography, there are several specific lighting techniques that can be used to enhance a person’s unique features. These techniques include natural lighting, studio lighting with equipment like soft boxes and beauty dishes, Rembrandt lighting, butterfly lighting, split lighting, and rim lighting. Each technique creates a different effect and can be tailored to suit the desired outcome.
What are the different types of lighting gear available for photographers?
Photographers have access to different types of lighting gear, including speedlights or flashes, studio lights, strobe lighting, and continuous lights. Speedlights are portable and popular among wedding and sports photographers. Studio lights are larger and offer more power. Strobe lighting provides a quick burst of light, while continuous lights are always on and commonly used in videos. Understanding the different options helps photographers choose the best lighting gear for their needs.
Why is it important for photographers to continuously learn and incorporate new lighting techniques?
Photography is an ever-evolving field, and incorporating new lighting techniques allows photographers to expand their skills and develop a unique perspective. Continuous learning helps them stay updated with the latest trends and overcome challenges in various lighting scenarios. By staying aware of new techniques, photographers can produce the best light for each moment in time, regardless of the circumstances.

