No products in the cart.

Engagement Photo Session Tips: A Comprehensive Guide
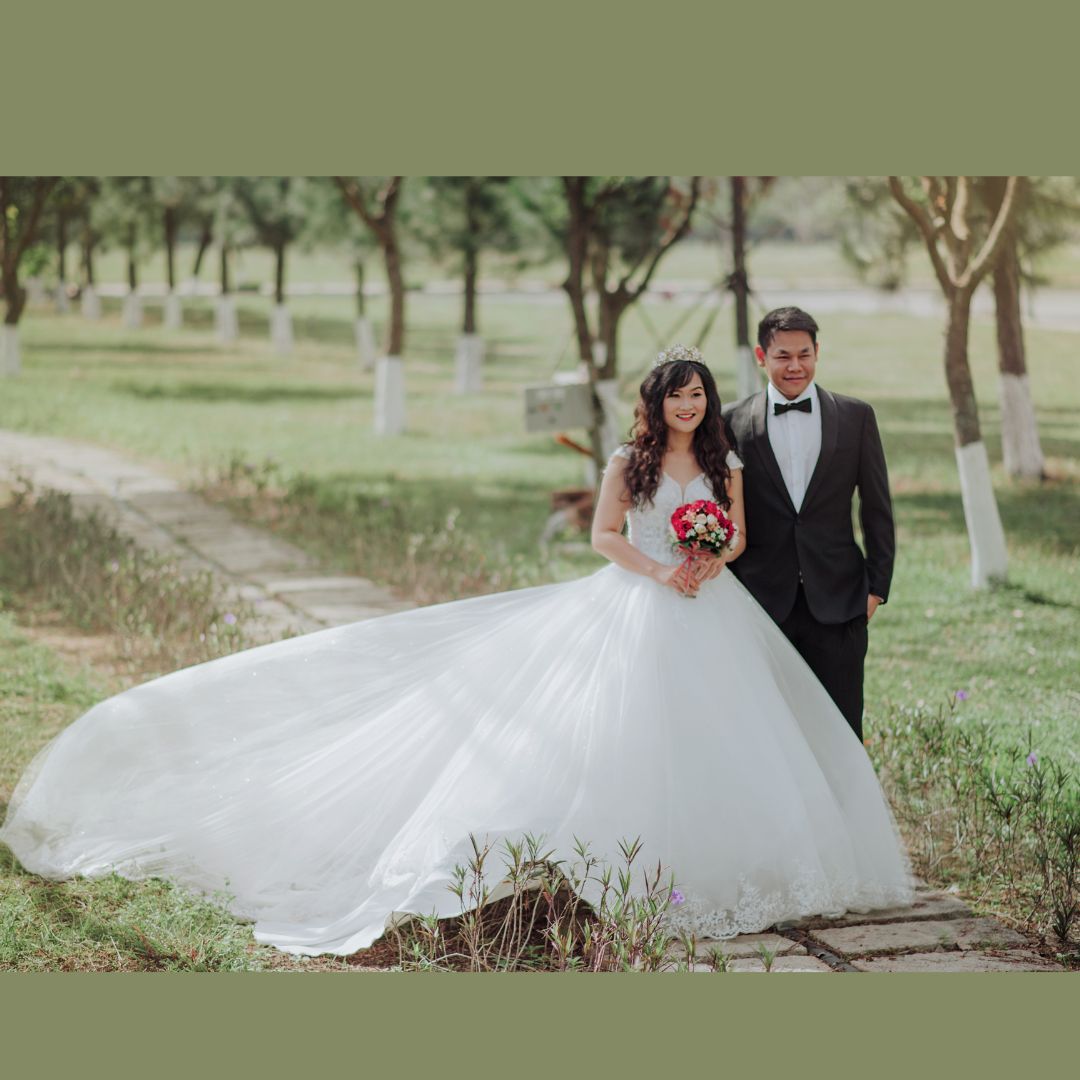
Introduction: Everyone dreams of receiving a romantic proposal from their significant other. It resembles a childhood fantasy coming to pass. It really is a
Ideal lighting plays a crucial role in photography as it profoundly impacts the outcome of a photograph. Understanding how lighting works and knowing how to manipulate it can elevate the quality of your images. Lighting not only illuminates the subject but also sets the mood, brings out details, and adds depth to the composition.
The types of lighting in photography can be divided into natural lighting, which utilizes the available ambient light, and artificial lighting, which involves using external light sources such as flashes and studio lights.
Ideal lighting in photography possesses certain characteristics. Direction, intensity, and color temperature are significant factors to consider. The direction of light determines the shadows and highlights in the image, while the intensity affects the overall brightness and contrast. The color temperature of light creates the mood and ambiance in the photograph, ranging from warm tones to cool tones.
Photographers employ various lighting techniques to achieve different effects. Front lighting evenly illuminates the subject, backlighting creates silhouettes and adds depth, and sidelighting emphasizes texture and adds dimension.
To achieve ideal lighting, photographers utilize certain tools and equipment. Reflectors bounce light onto the subject, diffusers soften and distribute light, and flash units and strobes provide additional lighting in challenging conditions.
Different shooting conditions require specific approaches to lighting. Indoor photography may involve making use of available light sources and artificial lighting setups, while outdoor photography requires adapting to the natural lighting conditions and utilizing reflectors and diffusers to control and enhance the light.
Post-processing techniques can also be employed to enhance the lighting in photographs. Adjustments to brightness, contrast, and color balance can be made to fine-tune the lighting and bring out the desired mood and atmosphere.
By understanding ideal lighting in photography and employing the right techniques and equipment, photographers can capture stunning images that convey the desired emotions and tell compelling visual stories.
Understanding ideal lighting in photography is crucial for capturing stunning and professional-looking photos. Having a clear understanding of ideal lighting in photography is essential for achieving visually compelling photographs. The right lighting, which includes factors such as the intensity, direction, and color of the light source, can significantly enhance subjects, bring out details, and establish the overall mood of the image. To attain ideal lighting, photographers should take into account natural light conditions, such as the golden hour or diffused light on a cloudy day, as they can yield beautiful results. In the case of indoor photography, incorporating softboxes or diffusers can be beneficial, as they help to generate a softer and more uniform light. Therefore, comprehending how to manipulate and adapt to different lighting conditions is crucial for capturing visually captivating photographs.
When it comes to photography, the importance of lighting cannot be overstated. Lighting plays a crucial role in capturing stunning images by enhancing the details, colors, and overall mood of the image. It helps to create depth, highlight subjects, and add dimension. Whether it’s natural light, artificial light, or a combination of both, understanding the importance of lighting in photography is key to creating visually captivating photographs.
Pro-tip: Experiment with different lighting techniques, such as backlighting or side lighting, to add drama and visual interest to your photos.
Lighting plays a crucial role in determining the outcome of a photograph. How Does Lighting Affect the Outcome of a Photograph? It affects the overall mood, clarity, and depth of an image. Proper lighting can enhance the subject, highlight details, and create a visually appealing composition. On the other hand, poor lighting can result in underexposure, shadows, and loss of important details.
In terms of how lighting affects the outcome of a photograph, it determines the direction, intensity, and color temperature of light. The direction of light can create different effects such as soft or dramatic shadows. The intensity of light affects the exposure and overall brightness of the image. The color temperature of light sets the tone and mood of the photograph, with warm or cool tones.
Understanding these aspects of lighting and using appropriate techniques and equipment can help photographers achieve their desired results and create stunning images in various shooting conditions.
Let’s shed light on the captivating world of photography by exploring the various types of lighting. We’ll discover the magic of natural lighting, uncover the possibilities of artificial lighting, and delve into the intriguing aspects of direction, intensity, and color temperature. This journey will reveal the nuances and impact that different lighting techniques can have on capturing the perfect shot. So, grab your cameras as we embark on an illuminating exploration into the art of photography.
Natural lighting is a crucial element in photography as it can greatly impact the outcome of a photograph. Here are some key points about natural lighting:
True story: I once captured a stunning portrait of a model during the golden hour, when the sun was low in the sky, casting a warm and soft light. The natural lighting enhanced the model’s features and added a beautiful glow to the image.
Artificial lighting in photography is an essential component for capturing breathtaking images. It grants photographers greater control over the lighting environment, offering opportunities for creative expression and manipulation of the mood and atmosphere within a photograph.
True story: A renowned photographer named Jane was at a dimly lit location, capturing a high-fashion editorial. Due to the limited availability of natural light, Jane relied on a combination of artificial lights to accentuate the model’s features and showcase the intricate details of the clothing. Through meticulous positioning and skillful use of modifiers, she successfully achieved a beautifully lit image that captured the true essence of the shoot. Artificial lighting played a vital role in bringing her artistic vision to life.
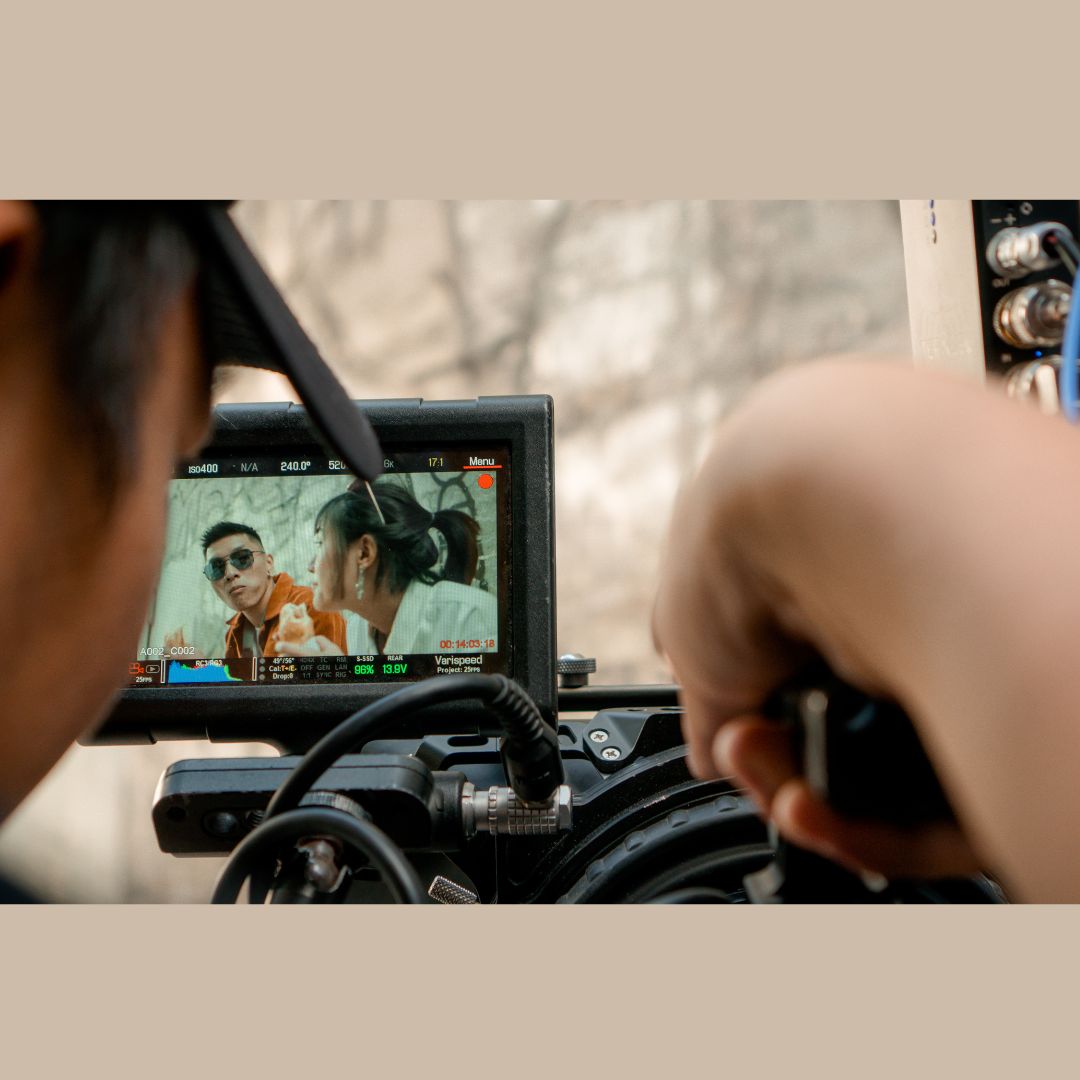
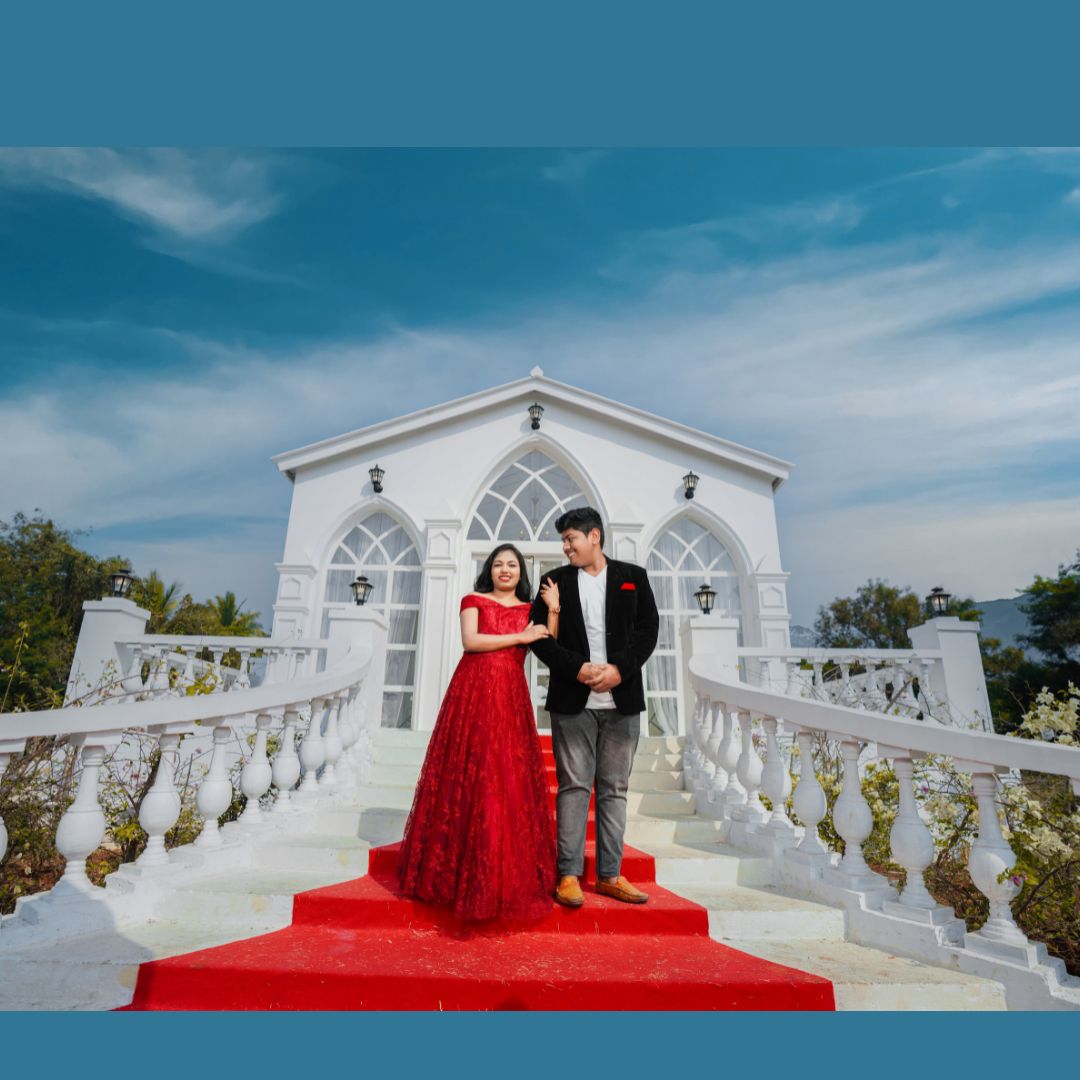
In photography, the direction of light plays a pivotal role in determining the outcome of a photograph. The direction signifies the origin of the light in relation to the subject. Photographers commonly employ various directions of light to achieve different effects. One such technique is backlighting, where the light source is positioned behind the subject. This approach produces a halo effect and adds depth to the image. Conversely, front lighting casts light on the subject from the front, eliminating shadows and resulting in a more evenly lit image. By comprehending and harnessing different directions of light, photographers can effectively manipulate the mood and overall appearance of their photographs.
The intensity of lighting in photography refers to the amount of light that is present in a scene. It plays a crucial role in determining the overall mood, contrast, and shadows in a photograph. The table below illustrates different levels of lighting intensity and the effects they have on the final image.
| Low intensity | Creates a soft and muted look with minimal shadows. |
| Moderate intensity | Offers a balanced level of light, resulting in natural-looking photographs. |
| High intensity | Produces strong highlights and deep shadows, adding drama and contrast to the image. |
To achieve the desired intensity, photographers can manipulate the lighting conditions by adjusting the distance between the subject and the light source, changing the angle of the light, or using light modifiers such as diffusers or reflectors.
When considering the intensity of lighting in photography, it is important to strike a balance that enhances the subject and creates the desired atmosphere. Experimenting with different intensity levels can lead to creative and visually compelling results.
| Color Temperature (K) | Tone | Emotion |
| 1500-3000 | Warm | Cozy, intimate |
| 4000-5000 | Neutral | Normal, natural |
| 5500-6500 | Cool | Crisp, clean |
| 7000+ | Blue | Cold, sterile |
Understanding color temperature is crucial in photography to effectively control the mood and ambiance of an image. Color temperature refers to the Kelvin (K) measurement of the light emitted by a light source. Different color temperatures result in distinct tones and have the power to evoke various emotions.
By considering the provided table, you can see the direct relationship between color temperature, tone, and emotion. With a color temperature ranging from 1500-3000K, the light appears warm, creating a cozy and intimate atmosphere. On the other hand, a color temperature of 4000-5000K is considered neutral, resulting in a natural and normal feel. If you prefer a cool and refreshing aesthetic, a color temperature of 5500-6500K is the way to go. Lastly, a color temperature of 7000K or higher emits a blue light, giving off a cold and sterile sensation.
Having a solid understanding of color temperature empowers you to intentionally craft the desired atmosphere in your photographs and enhance their overall impact.
Discover the magic of photography with common lighting techniques that can instantly elevate your images. From the enchanting glow of front lighting to the dramatic shadows of side lighting, we’ll explore how each technique can transform your photos. Unleash your creativity as we dive into the world of backlighting, adding depth and intrigue to your subjects. Get ready to capture the perfect shot as we unravel the secrets behind these mesmerizing lighting techniques.
Front lighting is a widely used lighting technique in the field of photography that involves illuminating the subject from the front. This particular type of lighting results in a well-exposed and evenly lit image with minimal shadows and contrast. When utilizing front lighting, photographers position the light source in front of the subject, typically behind themselves. This technique is beneficial as it reduces the presence of harsh shadows, while simultaneously enhancing details and improving visibility within the photograph. Portrait photographers frequently employ front lighting, as it effectively accentuates facial features and yields a pleasing and uniform lighting effect. Overall, front lighting serves as a valuable means of achieving a well-balanced and properly illuminated photograph.
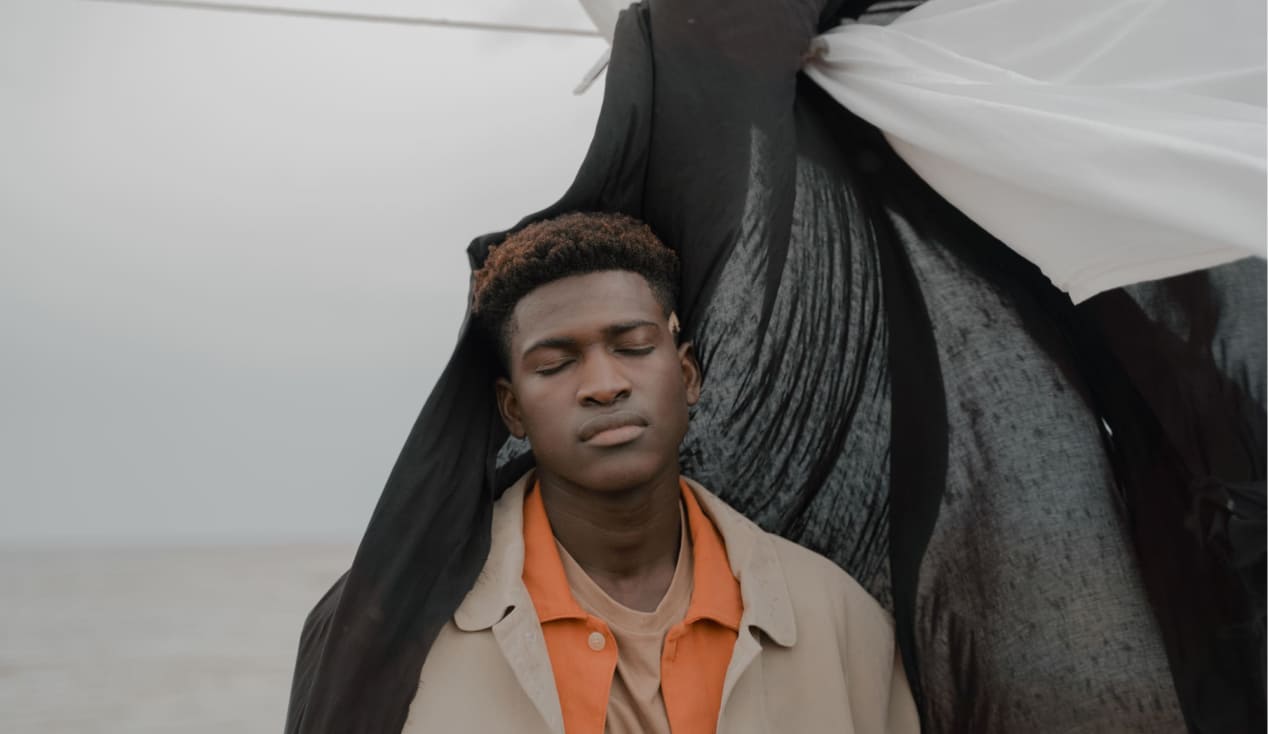
Backlighting is a popular photography technique that involves positioning the main light source behind the subject. This creates a stunning effect, such as a silhouette or a halo. The beautiful thing about backlighting is that it can bring depth, drama, and a touch of magic to your photographs. Here are a few important points to keep in mind when it comes to backlighting:
| – Creates a silhouette: | When you position the subject against the light source, it beautifully appears as a dark shape against a bright, captivating background. |
|---|---|
| – Enhances mood and atmosphere: | One of the key advantages of backlighting is its ability to infuse your photos with a sense of drama, mystery, and a warm ambiance. |
| – Highlights details: | Through the clever use of backlighting, you can create a stunning halo effect that encircles the subject, emphasizing their contours and adding a sense of depth to the image. |
| – Manages exposure: | It’s important to remember that with backlighting, you may need to adjust the exposure settings accordingly. This helps maintain the intricate details of the subject while avoiding overexposure. |
By incorporating backlighting into your photography, you can truly take your images to the next level. So, don’t hesitate to experiment with this captivating technique and witness the magic it can bring to your photographs.
Side lighting is a favored lighting technique in photography that can enhance an image’s depth, texture, and drama. It is important to consider the following points when using side lighting:
By incorporating side lighting into your photography, you can produce visually captivating and compelling images that are sure to stand out.
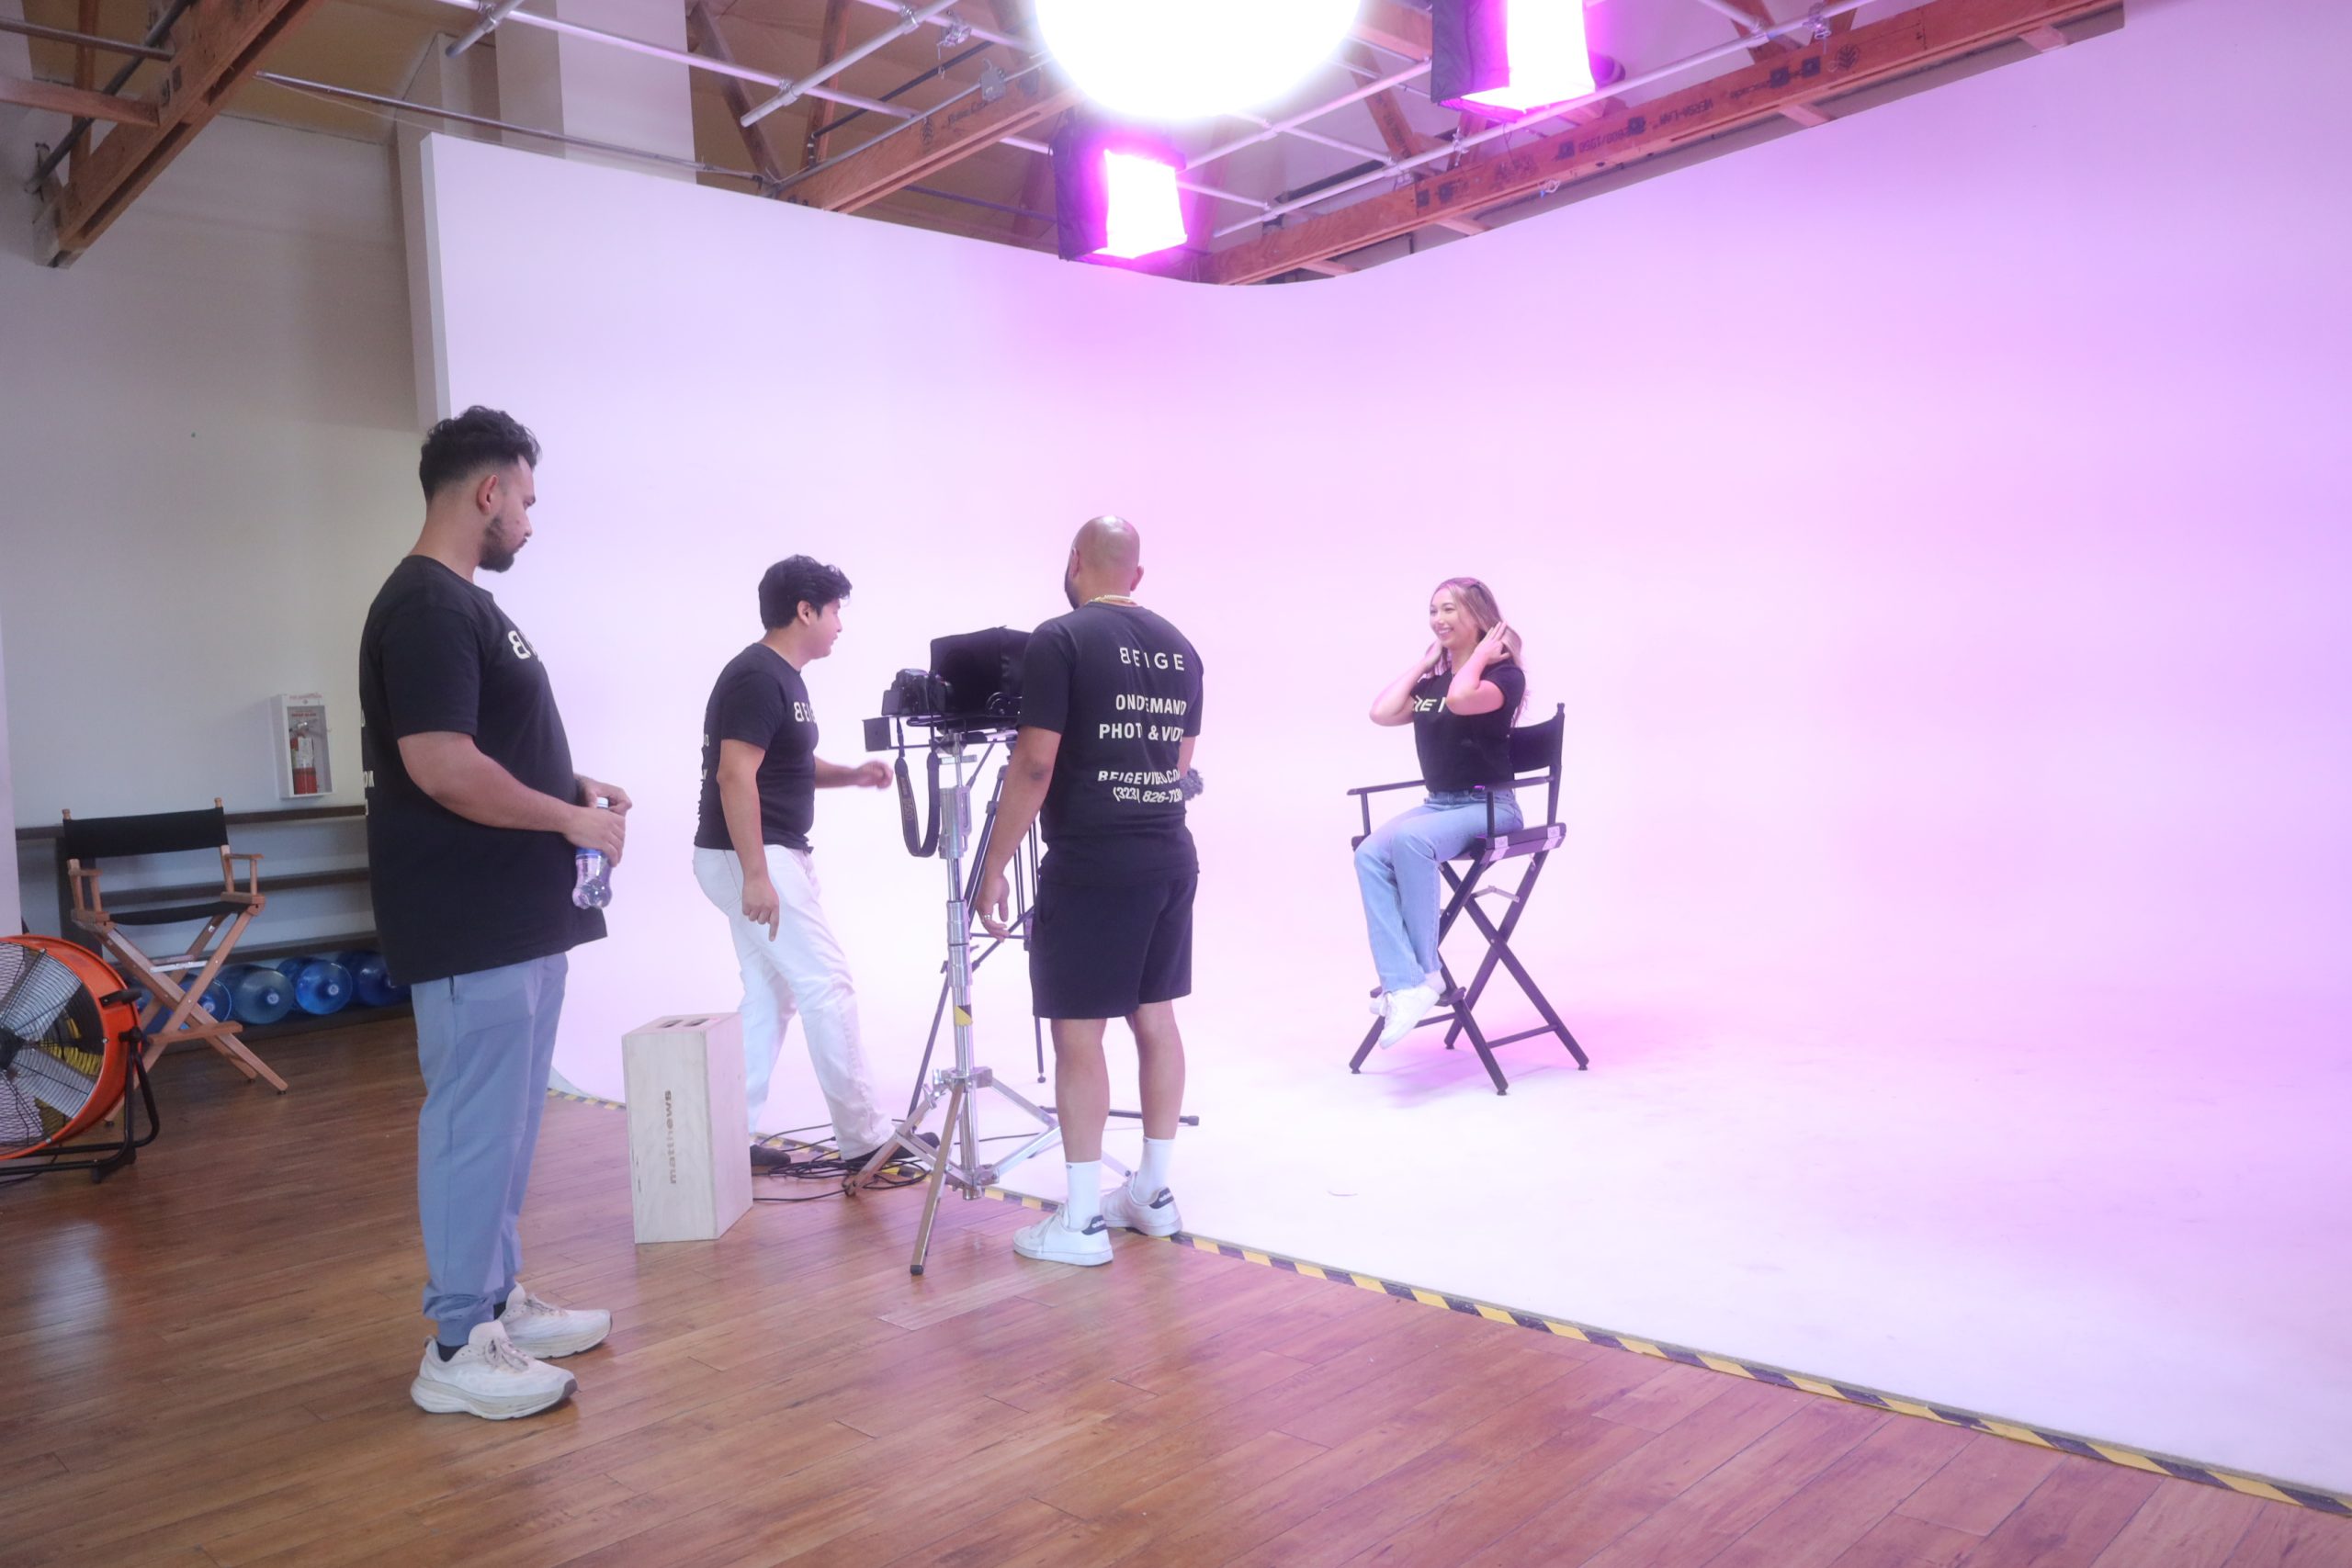
When it comes to achieving ideal lighting, having the right tools and equipment makes all the difference. In this section, we’ll uncover the secrets behind creating that perfect lighting setup. From reflectors to diffusers, and flash and strobes, we’ll explore each essential component and how they contribute to the overall lighting magic. So, get ready to shed some light on these must-have tools that can elevate your photography or film-making game to a whole new level.
Reflectors are indispensable tools in photography for manipulatizing light and creating ideal lighting conditions. They are versatile and can be used in various shooting scenarios. Here is a table presenting the various types of reflectors and their respective uses:
| Reflectors | Uses |
|---|---|
| Silver Reflector | Adds brightness and enhances contrast in portraits |
| White Reflector | Provides soft, diffused light in close-up photography |
| Gold Reflector | Warms up the scene and adds a touch of warmth to portraits |
| Translucent Reflector | Diffuses harsh light and reduces shadows for a more even lighting |
To achieve the finest lighting conditions, consider incorporating reflectors to bounce light onto your subject or to control and enhance the existing light. Reflectors are portable and affordable accessories that every photographer should possess in their toolkit.
Incorporating reflectors into your photography workflow can significantly enhance the quality of your images by providing optimal lighting conditions. Experimenting with different types of reflectors and techniques will assist you in achieving the desired lighting effects for your photos.
Diffusers play a crucial role in achieving ideal lighting in photography. They are transparent or translucent panels that are placed between the light source and the subject to scatter or diffuse the light. Diffusers help to soften harsh light, reduce shadows, and create a more balanced and even illumination in the scene. Here are some key points to consider about diffusers:
| – Diffusers, such as umbrellas, softboxes, and screens, come in different shapes and sizes. They can be made from various materials such as fabric, plastic, or even glass. |
| – In both portrait photography and product photography, diffusers are commonly used to create a softer and more flattering light on the subject. |
| – Using diffusers is particularly beneficial when shooting in bright sunlight or using artificial studio lights that tend to create harsh lighting conditions. |
| – Diffusers can be easily attached to light stands or held by an assistant to provide the desired diffusion effect. |
By incorporating diffusers in your photography, you can greatly enhance the quality of light in your photographs. This will result in more professional-looking images with a softer and more natural appearance.
Using flash and strobes in photography is crucial for achieving ideal lighting in various shooting conditions. Here are some key points to consider:
1. Versatility: Flash and strobes offer photographers the ability to control the direction, intensity, and color temperature of light.
2. Balancing ambient light: Flash and strobes can help balance light when shooting in challenging lighting situations or during low-light conditions.
3. Freezing motion: Flash and strobes empower photographers to freeze fast-moving subjects by providing a burst of light in a short duration.
4. Fill flash: Flash can be utilized to fill in shadows and add a pop of light to the subject, particularly in situations with harsh or uneven lighting.
5. Off-camera lighting: Flash and strobes can be triggered wirelessly or connected via cables to provide flexibility in positioning and creating dynamic lighting setups.
Capturing the perfect lighting can make or break your photographs. In this section, we’ll uncover tips for creating ideal lighting in various shooting conditions. Whether you’re indoors or outdoors, we’ve got you covered. Discover the secrets to indoor photography illumination, as well as the techniques for harnessing the natural light in outdoor settings. Get ready to enhance your photography skills and take your pictures to the next level!
Indoor photography requires careful consideration of lighting conditions to achieve the desired outcome. Here are some steps to create ideal lighting for indoor photography:
Assess the available light for indoor photography: Determine the existing lighting in the room and its intensity.
Consider natural light sources for indoor photography: Utilize windows and doors to maximize natural light by positioning the subject accordingly.
Control artificial lighting for indoor photography: Adjust or turn off overhead lights that may cast unflattering shadows on the subject.
Use additional light sources for indoor photography: Add artificial lights like lamps or strobes to create more balanced and directional lighting.
Reflect and diffuse light for indoor photography: Use reflectors and diffusers to soften harsh light and control the direction of light on the subject.
Experiment with light angles for indoor photography: Try different angles and positions to create depth and dimension in your photographs.
Adjust camera settings for indoor photography: Modify the ISO, aperture, and shutter speed to compensate for the available light and achieve the desired exposure.
Post-processing techniques: To enhance lighting in photographs, you can employ various post-processing techniques. Here are some steps to consider:
Adjust brightness and exposure: Increase the overall brightness to make the image look well-lit. Fine-tune the exposure to bring out details in both highlights and shadows.
Balance white levels: Correct any color casts or temperature issues by adjusting the white balance. This ensures accurate and natural-looking lighting.
Use dodge and burn: Enhance specific areas by selectively lightening or darkening them using the dodge and burn tools. This adds depth and dimension to the image.
Apply gradient filters: Use gradient filters to selectively adjust the lighting and exposure in specific areas of the photo, such as the sky or foreground.
Try HDR processing: Merge multiple exposures of the same scene to create a high dynamic range (HDR) image. This preserves details in both the bright and dark areas and enhances the overall lighting.
Remember, the goal is to enhance the lighting while maintaining a natural and realistic look. Experiment with different techniques and find a style that suits your preferences.
Ideal Lighting Supply offers a wide range of safety products for homes and businesses, including products for home safety, commercial grade wiring devices, and induction lighting.
The Homeselect product is a line of electrical wiring devices offered by Ideal Lighting Supply. It is designed for new home builders, contractors, and do-it-yourselfers.
To log in to Facebook, go to the Facebook login page and enter your username or email address and password. If you don’t have an account, you can register for a new account. If you have forgotten your password, there is an option to recover it.
Facebook offers various services and features such as Messenger, Facebook Lite, Video, Places, Games, Marketplace, Meta Pay, Meta Store, Meta Quest, Instagram, Threads, and Fundraisers.
The contact information for Ideal Lighting Supply is as follows: Phone: [phone number], Fax: [fax number], Email: [email address]. They are located at 11912 Woodruff Ave, Downey CA, 90241.
Ideal Lighting Solutions provides a turnkey solution for lighting projects and offers a monetary incentive for implementing energy-efficient lighting systems. By using their services, customers can save money on energy costs in the long run.
Lorem ipsum dolor sit amet, consectetur adipiscing elit. Suspendisse varius
enim in eros elementum tristique.